The Resurrection of 8140 by Richard Spirk

The Lake Ontarios by Allan Measor
June 24, 2017
Shackles and Cringles – Summer 2017
July 13, 2017Look what they have been up to at the Peterborough Sailing Club! Thank you Richard and Pam for providing this step-by-step of the incredible metamorphosis of a pre-loved Albie. Now that we have three competitive regattas under our belts (with the OHCC Regatta coming up this weekend), and the Ontario waters seemingly receding, we can truly say that the summer season has started. Get out there as often as you can, mentor your fellows and sail fast! As always, please subscribe. With thanks to Calum Tsang for the awesome photos he took of the TISC regatta - one of which is in the masthead of this post.
I wish to thank Mooredale Sailing Club for donating a number of Albacores to the Peterborough Sailing Club. 8140 was one of six boats that were in dire need of repair. Pam Leeuwestein and I decided that we would take 8140 and make her into a proper racing boat again. The remaining Albacores that we brought to Peterborough are awaiting similar repairs and a new life in the Peterborough Sailing Club fleet.
I have been credited with the resurrection of Albacore 8140 but I need to give credit where it is due. Pam was instrumental in introducing Peterborough Sailing Club to Mooredale Sailing Club and arranging this generous donation. Assisting me in the varied tasks associated with boat repair were Pam, my good friend Dave Logan, my parents (Jiri and Jana Spirk), Keith Herzog, and Brian Muir. There were many times that several pairs of hands were needed, whether it was trailering, sanding, grinding, gluing, painting or fabricating parts. I should not fail to thank Barney Harris for posting information on rigging OY boats. It made things much easier since I don’t have easy access to race rigged Albacores.
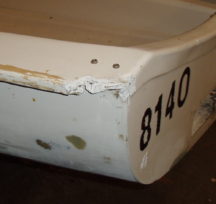
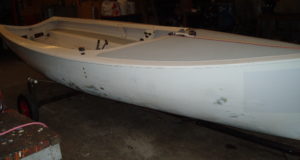
The story of 8140 in my hands began in December of 2016 when we picked up three Albacores from Mooredale. As the following pictures show, 8140 had seen a lot of use.
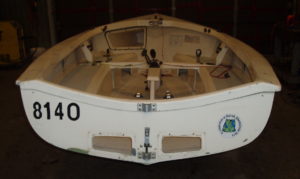
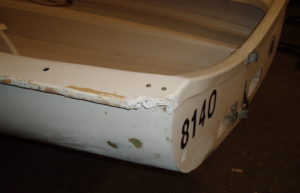
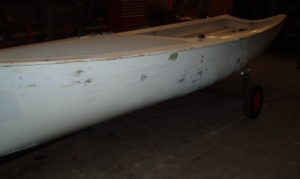
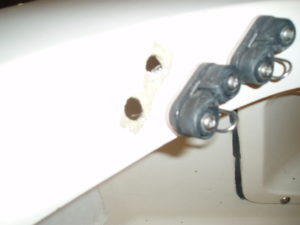
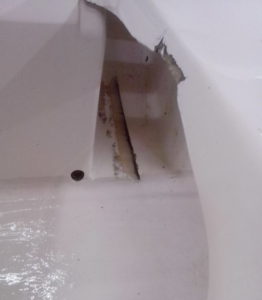
Torn out screw holes, ripped fiberglass and separated bulkhead are shown.
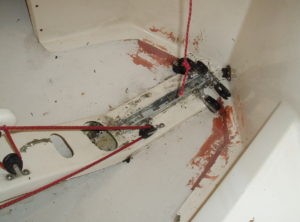
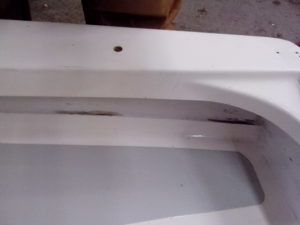
After the boat had a much-needed cleaning and removal of all rigging, the official repair process began with the removal of existing adhesive, in areas where the bond had failed. Shown below adhesive has been removed from under the bulkhead and from under the aft tank below the thwart (both sides).
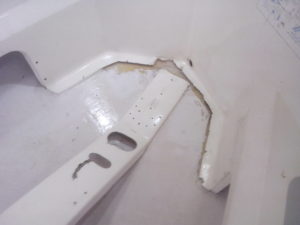
More existing adhesive removed in sections of the aft tank that had separated. An access hole was cut into the bulkhead on the port side. This provided access to remove the existing adhesive and to reinforce the connection between the bulkhead and the hull.
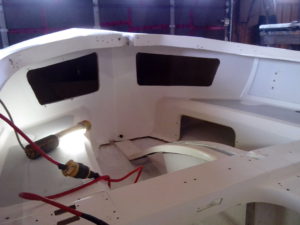
Thickened epoxy was pushed into the gap between the bulkhead and hull. The thwarts had come separated from the benches/tanks and they are now epoxied in place.
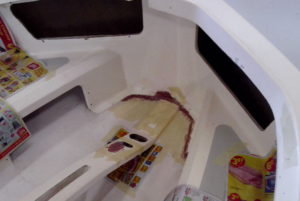
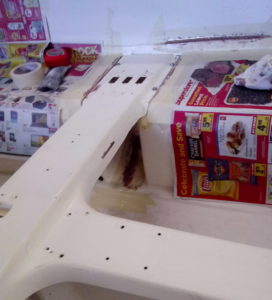
The deck was covered in spider cracks. The cracks were ground out and filled with epoxy.
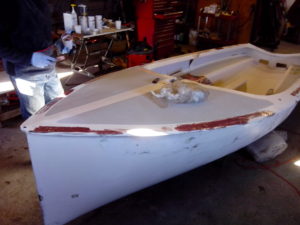
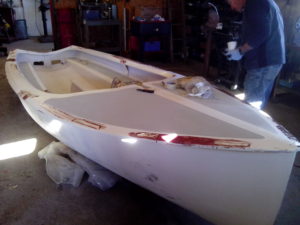
More deck repairs as well as repairing dents and cracks in the sole. The fiberglass on the pulley mounting block was separated from the wood inside. Shown is the prep before gluing the aluminum channel.
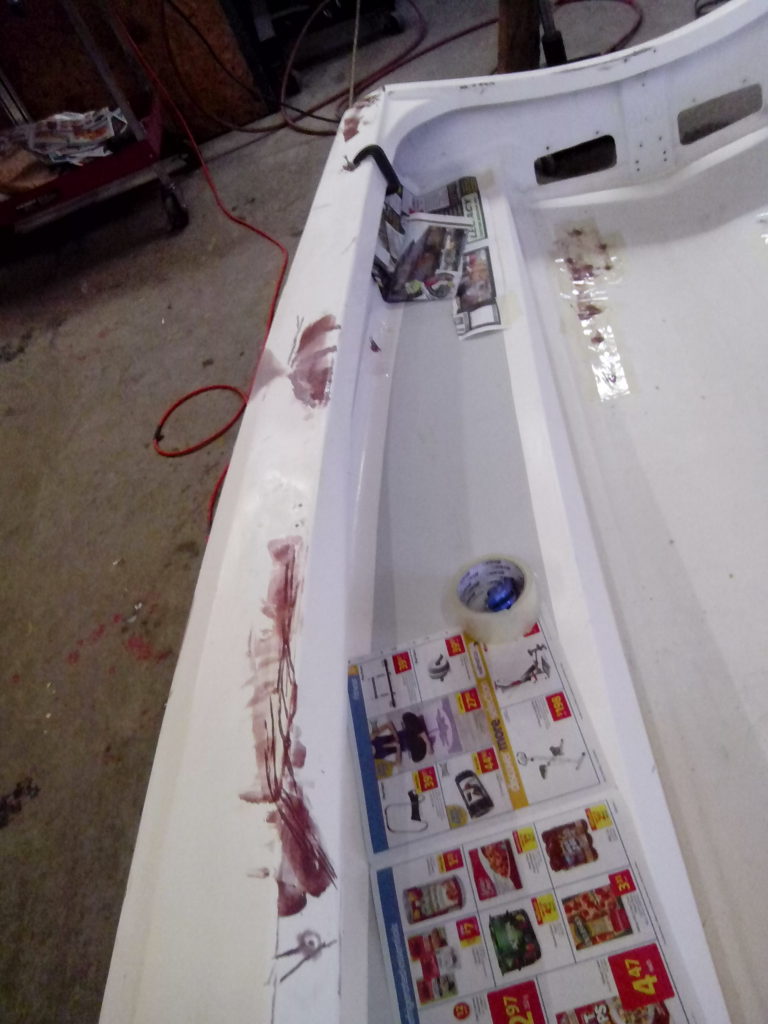
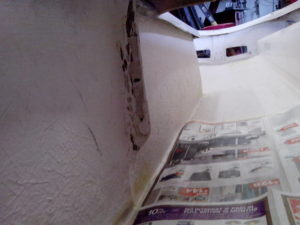
Gluing of the aluminum channel for the control pulleys and repair on the aft end of the centerboard trunk.
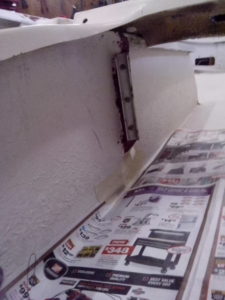
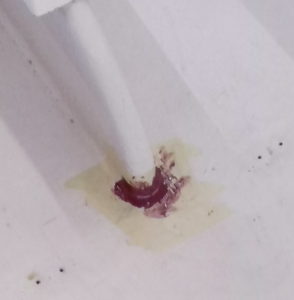 Repairs to the transom and corners of the gunnel.
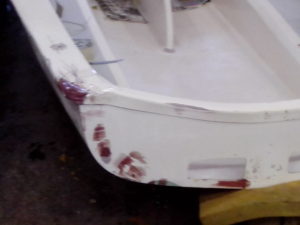
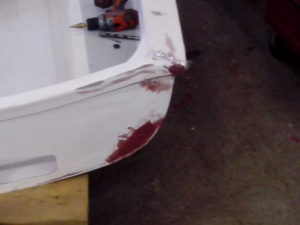
Fabricated a washer to replace the cleat mounting plate. It has not yet been installed because I wanted to try sailing with center cleating. The cleat and plate will be removed since I have found that I don’t like the center cleat.
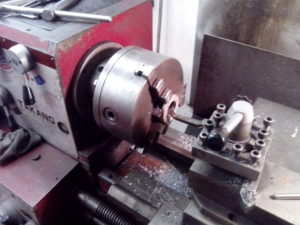
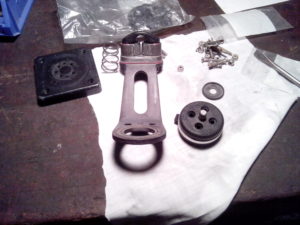
The centerboard bolt hole was worn out and is now repaired. Shown is the beginning of grinding out dents and cracks in the outer skin of the hull.
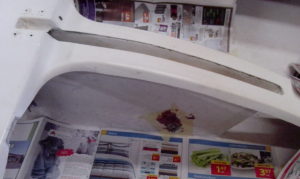
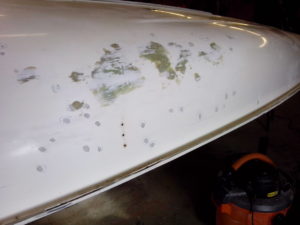
The ground out areas were filled with thickened epoxy. A layer of fibreglass was added if the damage was major.
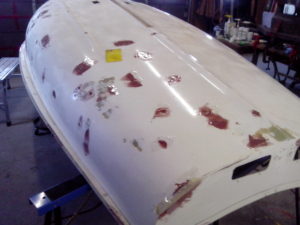
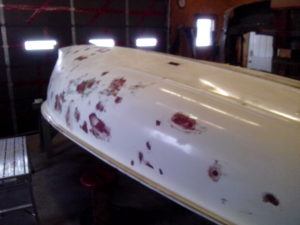 More repairs to the outer skin of the hull. Shown is the gunnel being reattached to the transom.
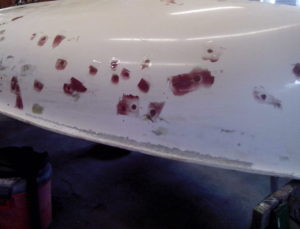
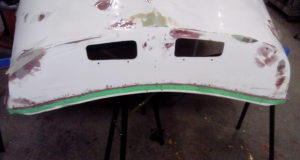
Shown are the reinforcements to the gunnels. Fiberglass was laid into the gunnels, foam fillers installed, and fibreglass laid over top.
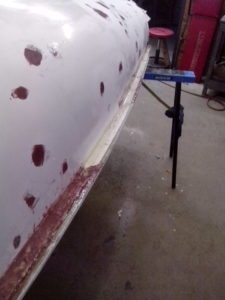
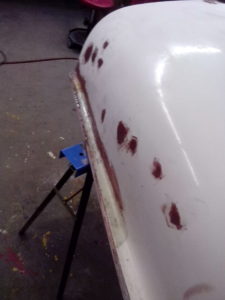 Shown are fibreglass reinforcements into the gunnels.
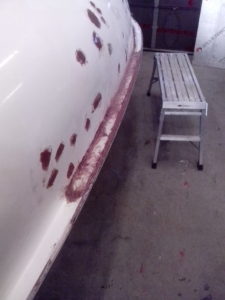
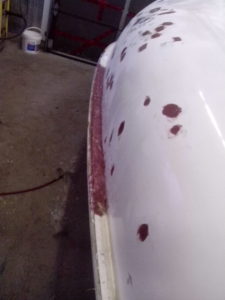 The port side of the forward tank required fiberglass reinforcement into the gunnel. The nose required rebuilding.
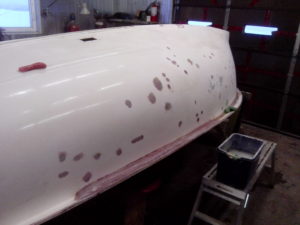
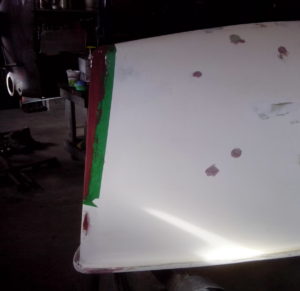 The trailing edge was all chipped up. It was epoxied over and sanded to a sharp edge. The existing adhesive on the port side hull to deck connection was removed and replaced with thickened epoxy.
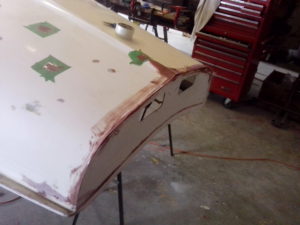
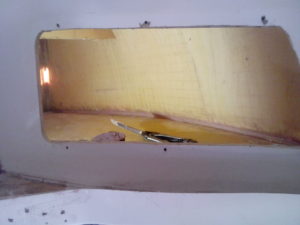 The underside of the deck around the partners was reinforced with fiberglass as well as filling in existing holes. The deck to hull connection was reinforced with fiberglass (starboard side shown).
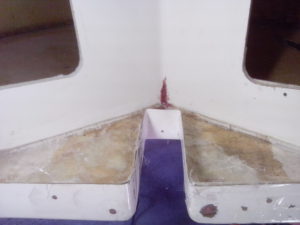
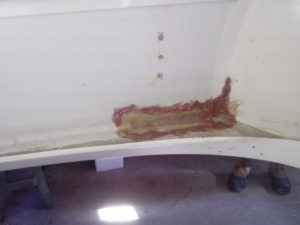 The deck to hull connection was reinforced with fiberglass (port side shown). The centerboard trunk cap was reinforced and repaired.
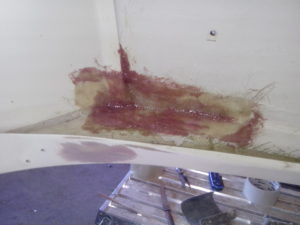
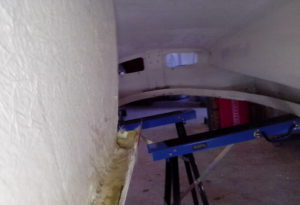
The thwart in the hiking strap attachment area was reinforced and repaired. The centerboard and rudder underwent extensive cosmetic repairs.
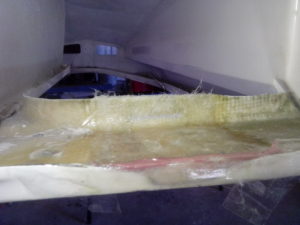
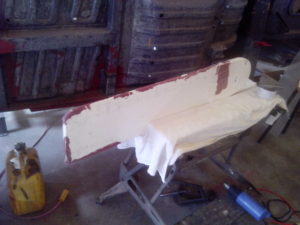
The wood block in the transom was removed and set back in place in a bed of epoxy. The center section was reinforced with fiberglass. Aluminum bars were bonded to the inside of the perimeter of the bulkhead access holes. Mounting holes were drilled and tapped into the aluminum bars.
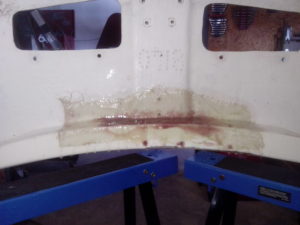
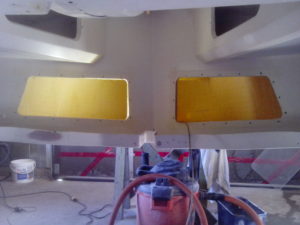 Preparation for painting the hull, centerboard and rudder with Interlux VC Performance two-part epoxy paint. Shown is the results of the first of four coats.
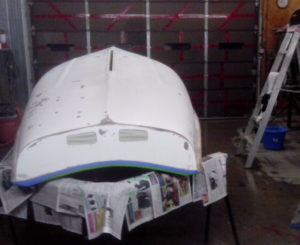
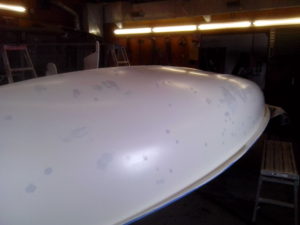 Shown is the final coat of epoxy paint. Also shown is the nearly completed sanding/polishing process. This process took nearly two weeks to complete.
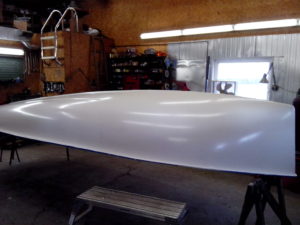
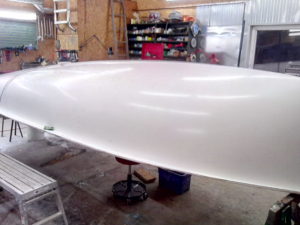
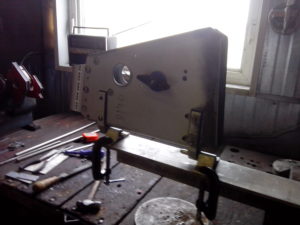
The final finish! The rudder headstock being tested for alignment with new nylon bushings installed.
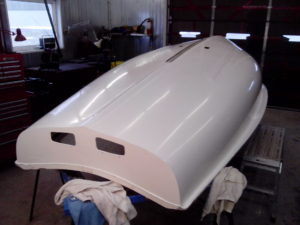
 Fitting of the stainless-steel transom brace.
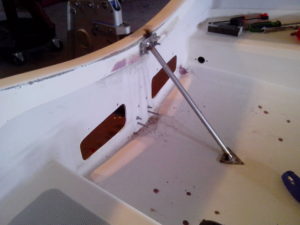
An epoxy pad was formed on the hull and machine screw threads were set into the epoxy for the brace. My smartly dressed paint crew from the left: Pam Leeuwestein and Jana Spirk.
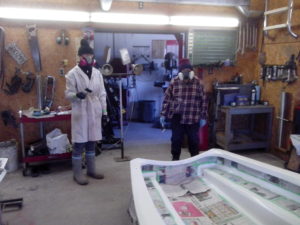
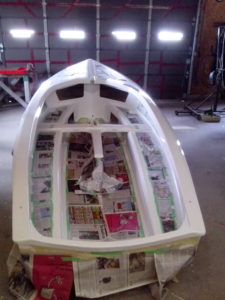
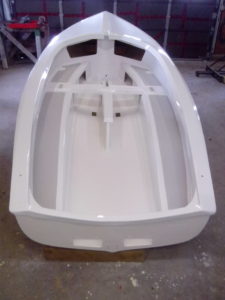
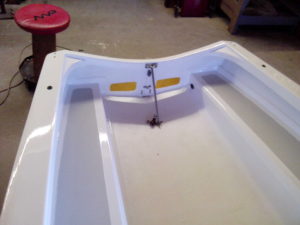
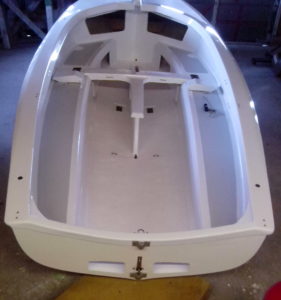
The interior and the deck were primed. Shown (left) is the boat masked off for painting the bulkhead and tanks. Shown (right) is the finished product: Interlux VC Performance epoxy paint on the hull, Interlux Brightside Blue Glo White on the deck and gunnels, Interlux Brightside White on the bulkhead and tanks, and Interlux Interdeck White on the sole with anti-slip grit sprinkled into the paint.
 Transom brace, pintle and gudgeon installed. A spacer was installed under the lower pintle to line up with the rudder.
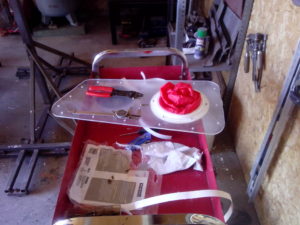
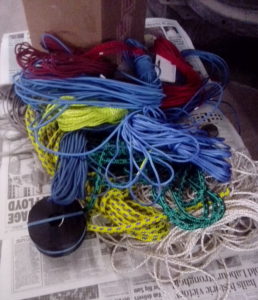
Access hole cover plate with an inspection hatch and integrated storage pouch. A pile of ropes destined to be installed on 8140.
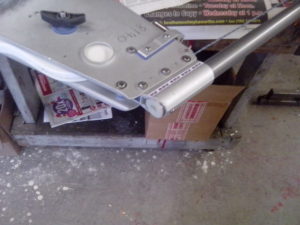
A nylon plug was installed into the aft end of the tiller to ensure that lines didn’t snag/wear on an edge. Albacore dollies in production.
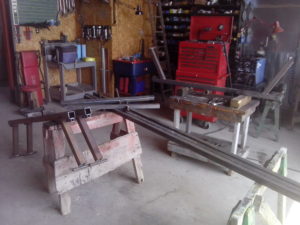
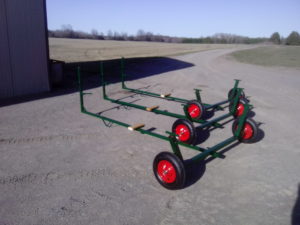
Nearly complete dollies, only lacking straps and padding. Rigging of control lines in progress.
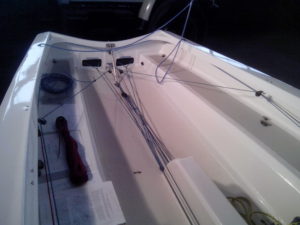 More rigging progress. Rigging very close to completion. The main sheet split tail shown was revised to use smaller diameter tails.
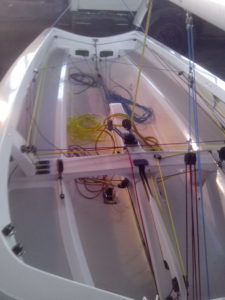
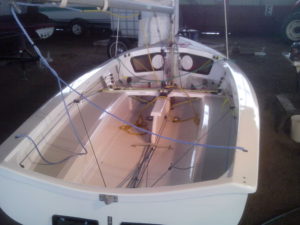
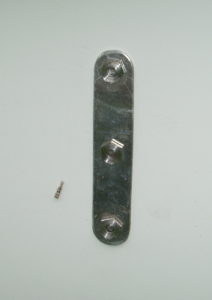
A close-up detail of the channel stay adjuster attachment. Original attachments were sleeve nuts that were corroding, presumably because they were from inferior quality stainless. The core appeared to be solid but the skin was dimpling regardless. I machined sleeve nuts from stainless steel bolts and installed an aluminum doubler to spread the load.
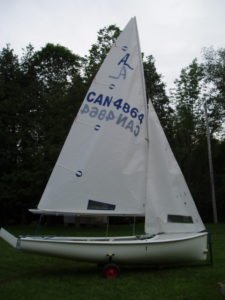
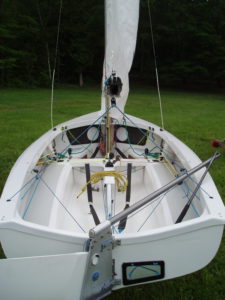
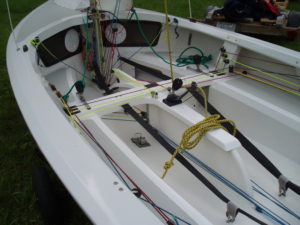
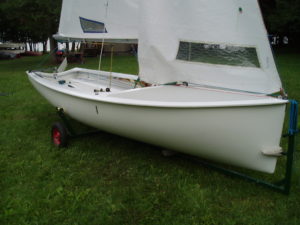
With about 600 hours of labour, she now looks like a brand-new boat! The following are current pictures of 8140 at her new home, Peterborough Sailing Club. She doesn’t have her own set of sails yet, so I’ve borrowed my parents’ sails from their wood/fiberglass hybrid albacore that they raced. Pam and I fondly call her “Mistress”. The meaning can either be taken that she is very demanding or that she’s the other woman in my life. She was weighed prior to the 2017 Ontario Albacore Championships at a respectable 259lbs.
